Ottplayer (not stable app)
Setting up Ottplayer through the Hbbtv app
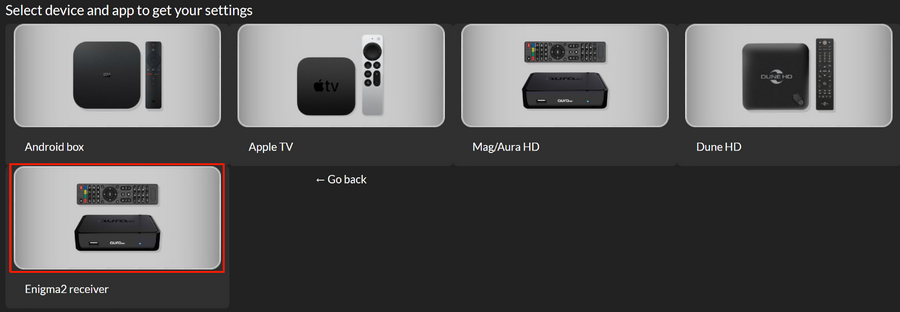
Tested on vu+ ultimo, vu+ zero, vu+solo2 receivers with OpenPli 6, OpenATV, VTI.
Here’s how to launch it:
Install the HbbTV plugin from the feed (in many images, it might already be present, but it may need an update).
In the plugins list, a new item "YouTube Settings" will appear - you need to replace the YouTube link with http://widget.ottplayer.tv
You can also choose to display it in the main menu.
In the add-ons menu (blue button or long-press the blue button), launch the "YouTube TV" option (or in the main menu if selected in the previous step), and the ott-play player will start.
Open the app and put in the info of your profile from ottplayer.tv

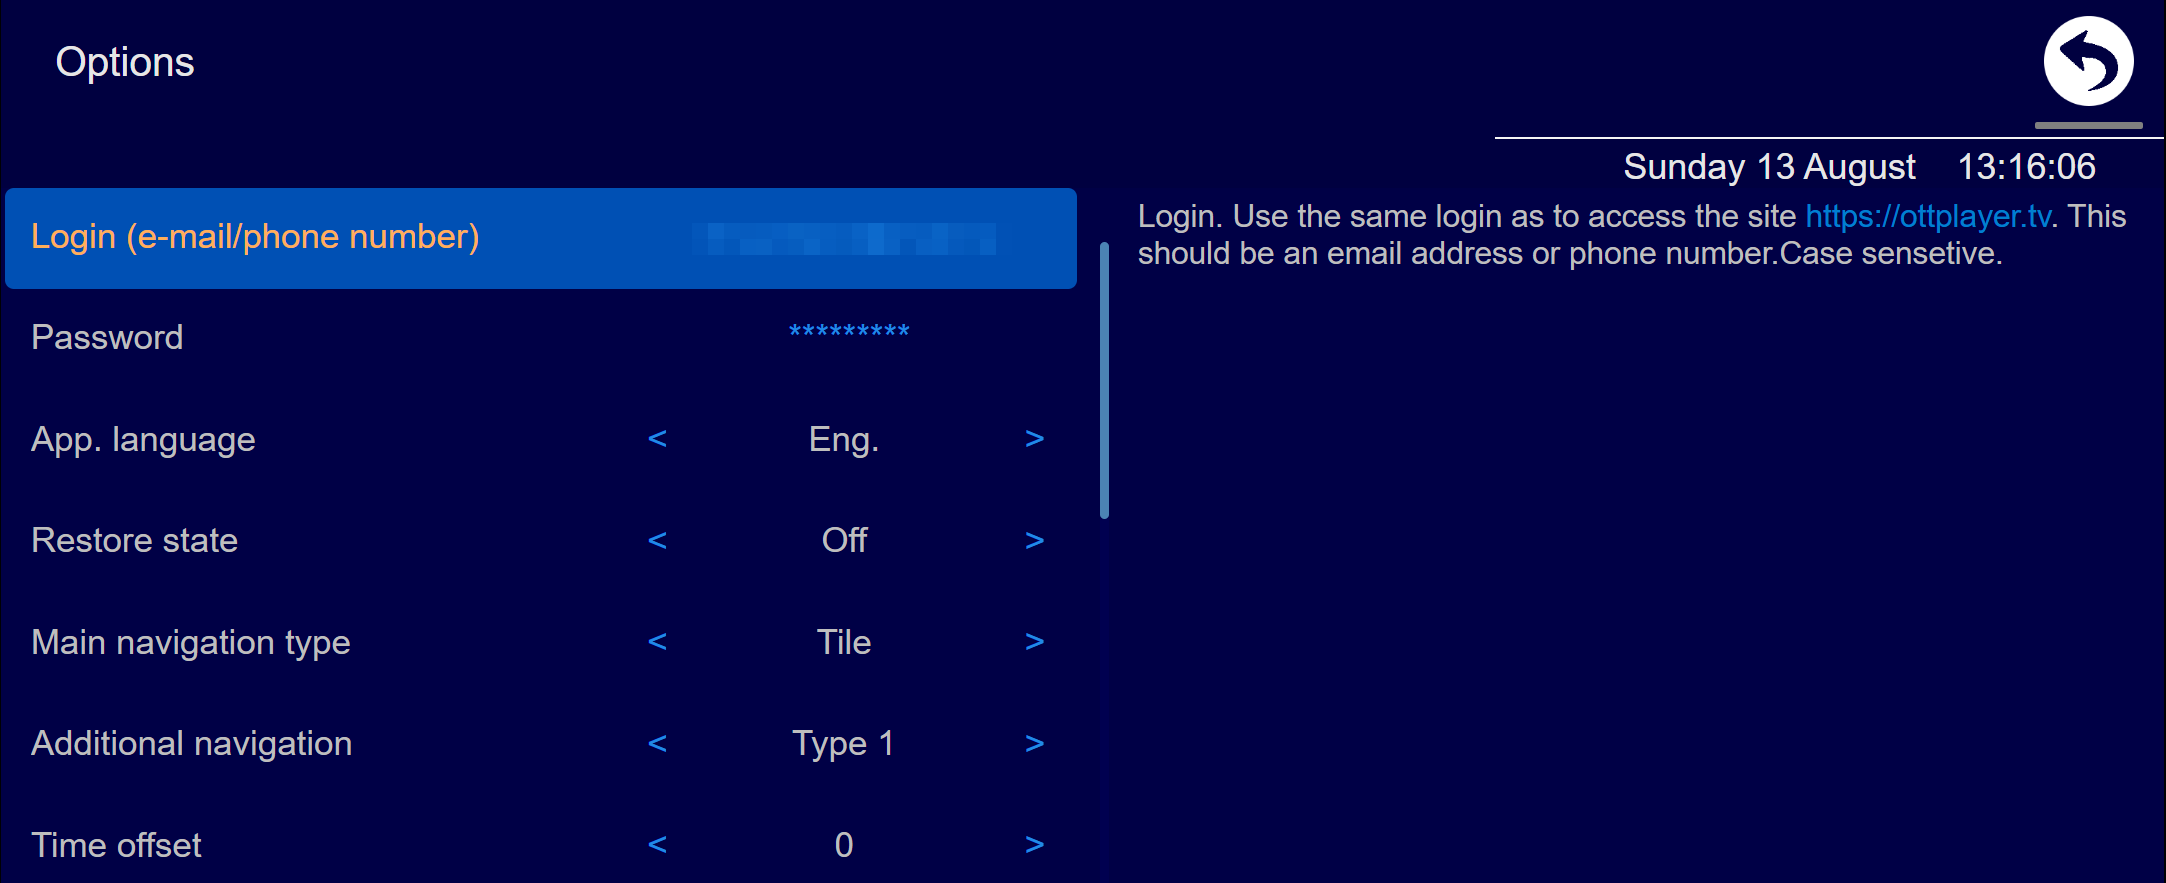
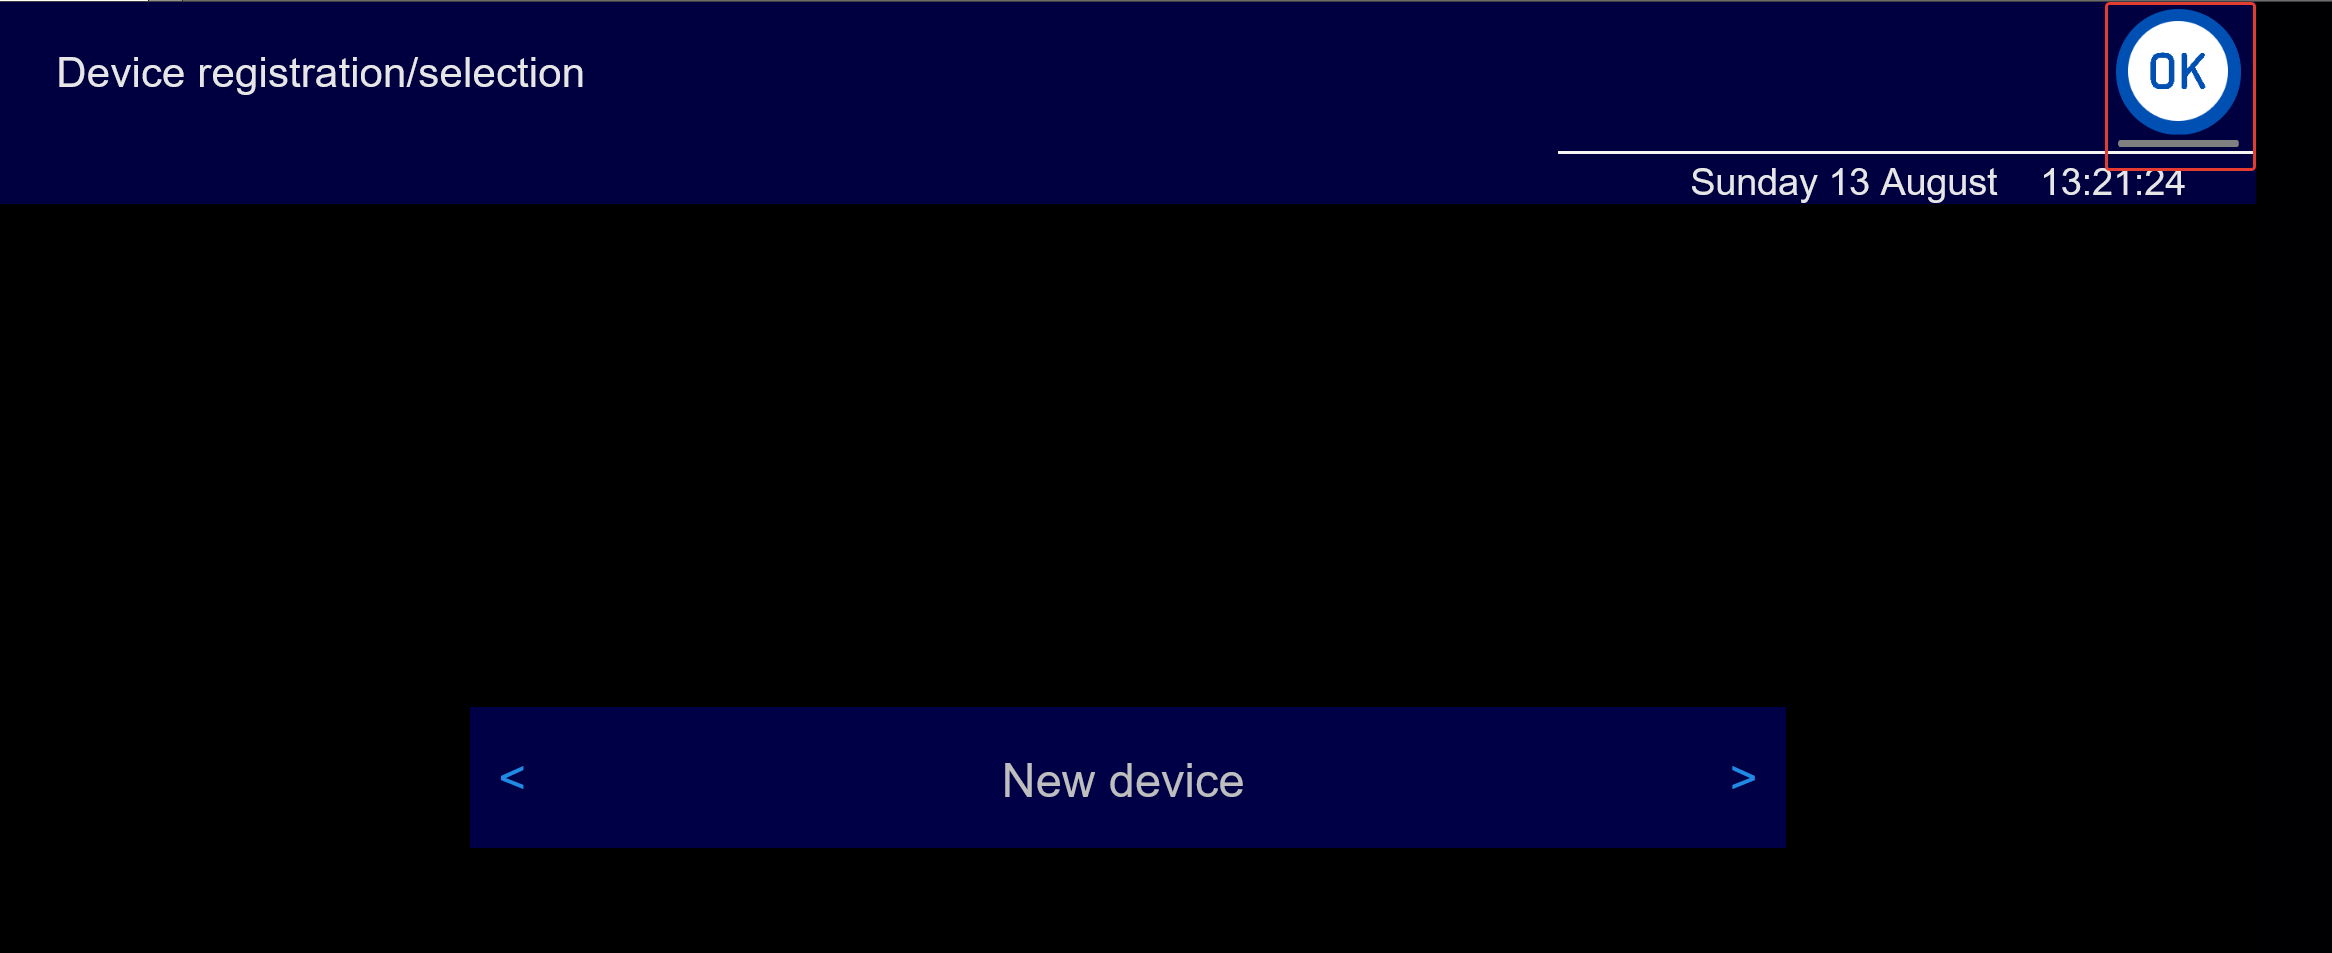
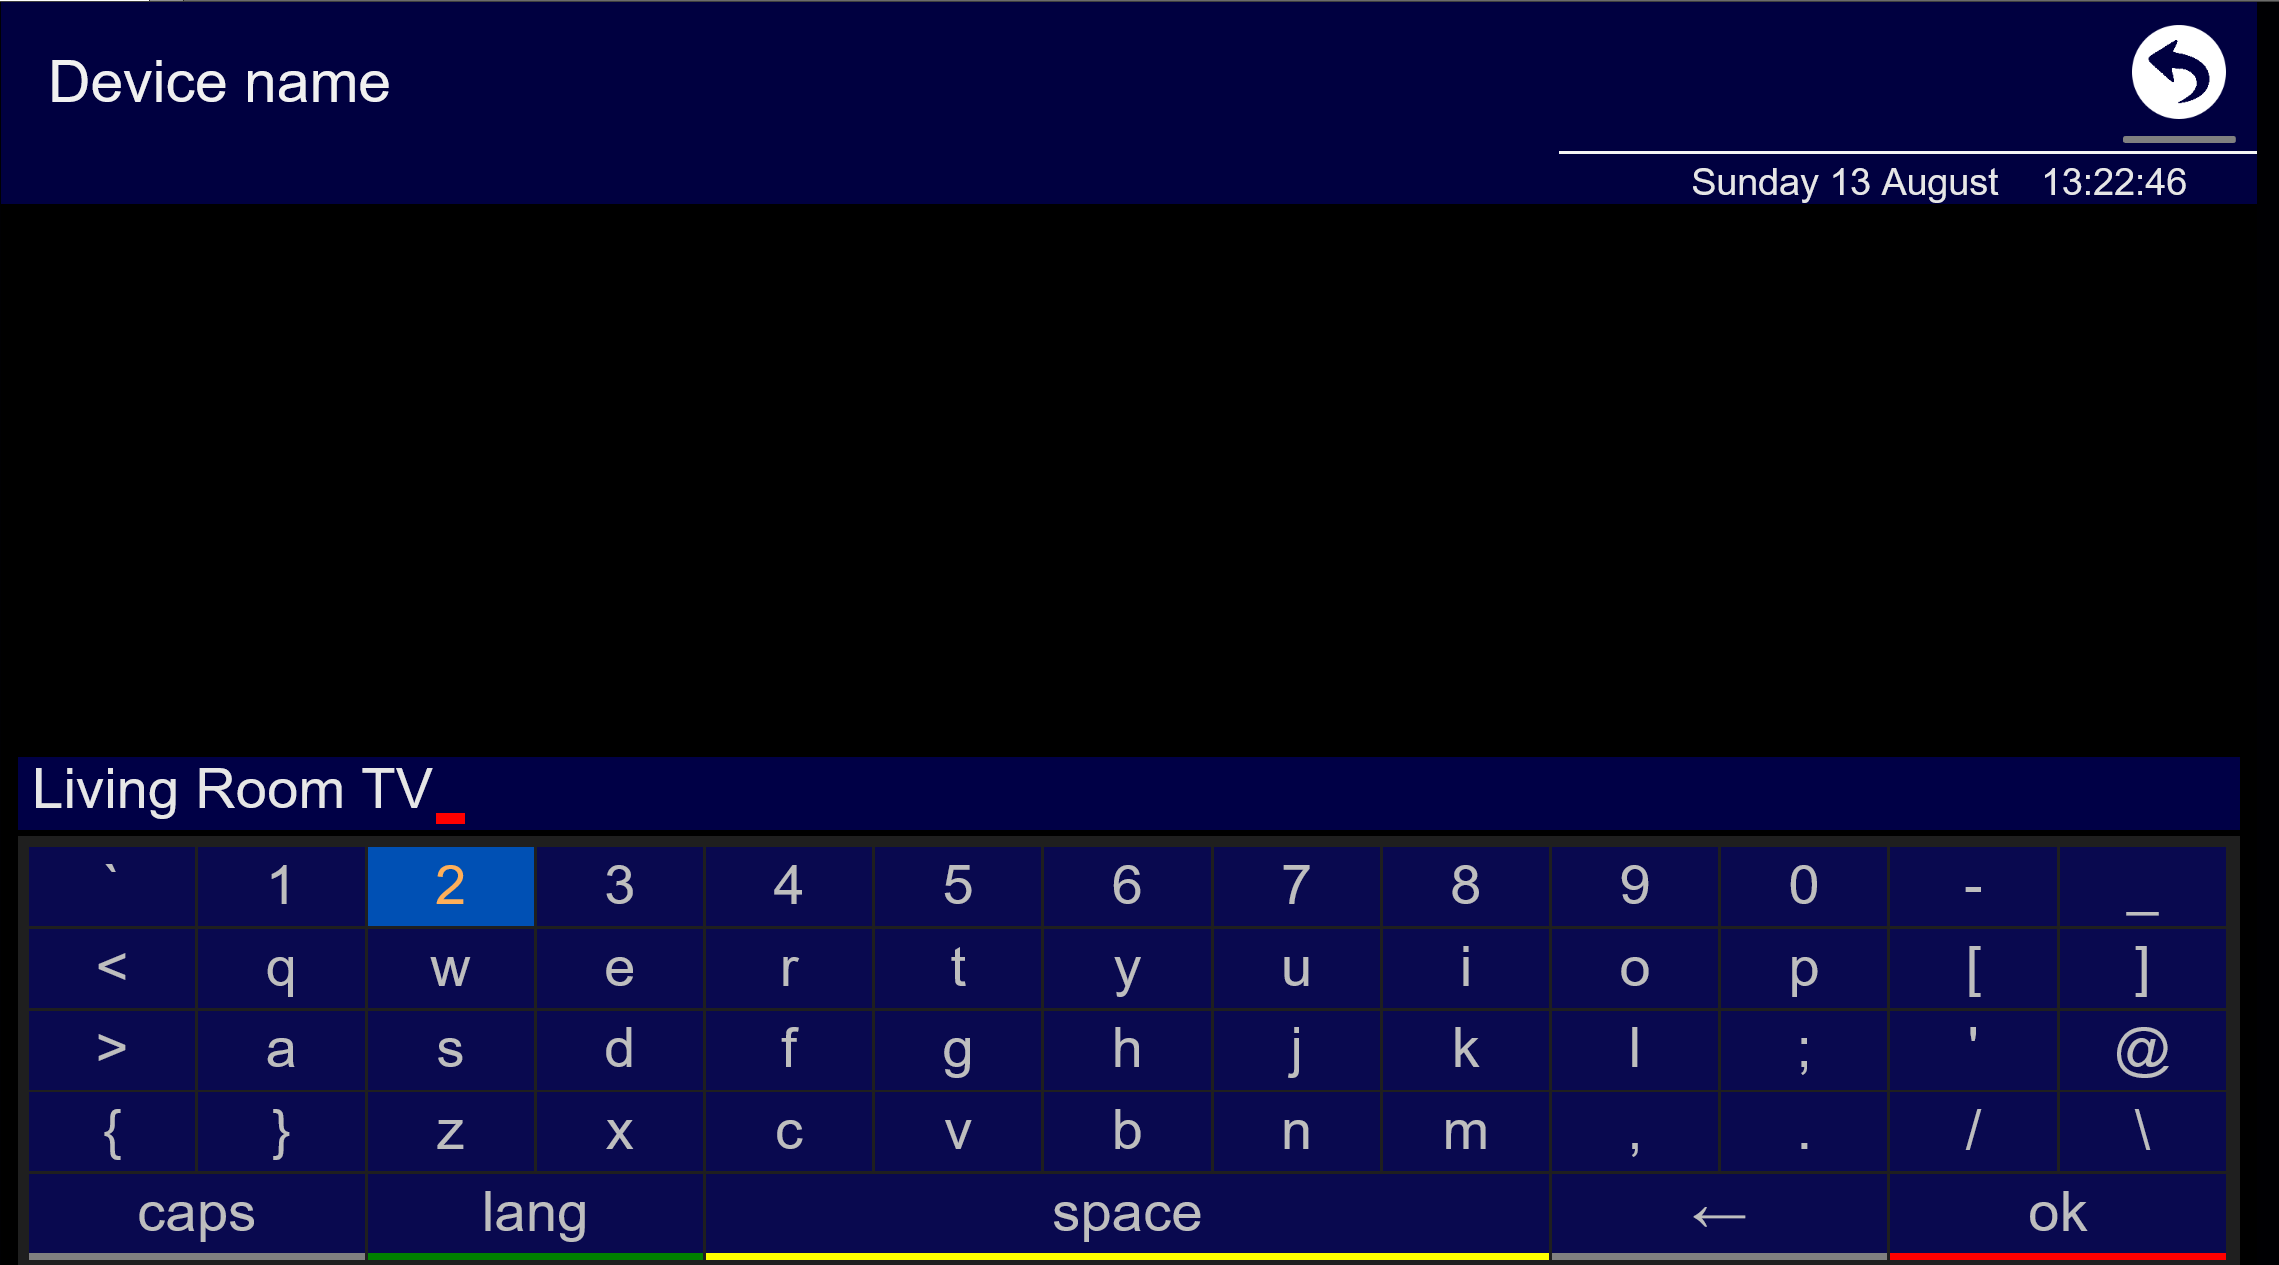
To save the data you need to click on the “return” arrow in the top right corner, after which you will be prompted to select "Registration/Device Selection." Choose "New Device" and enter its name, for example - "Living Room TV."
Take the link to your auto-updated playlist from your personal account. It can be found here:

Go to the 'Playlist and Settings' page and take the link for the auto-updating playlist:


After logging in to the Ottplayer app on your TV, return to the ottplayer.tv account.
Access your account on the Ottplayer website and upload your "playlist.m3u8" file or provide the link to your auto-updating playlist from the personal account. You can find the instructions on how to do this in the following link: https://ottplayer.tv/support
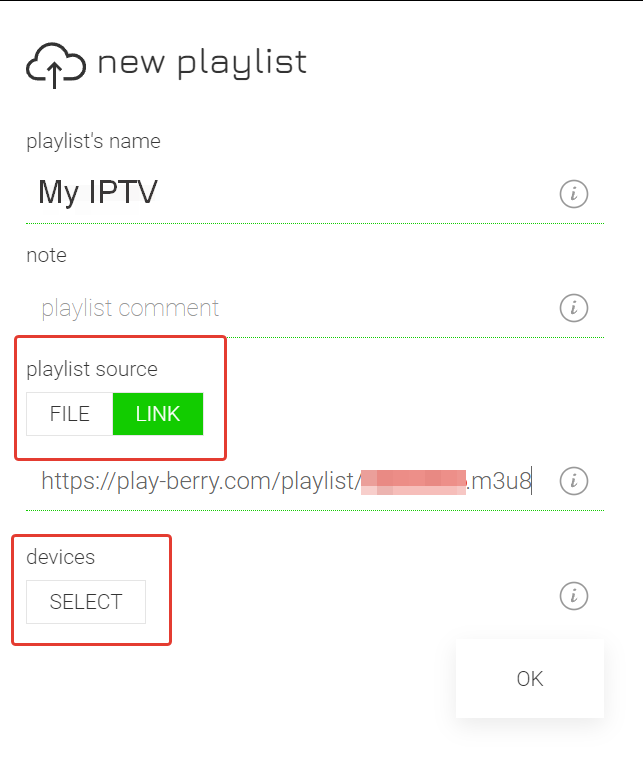
You will find all playlists in the package settings in your personal account. Name this playlist whatever is best for you, for example, "My IPTV."
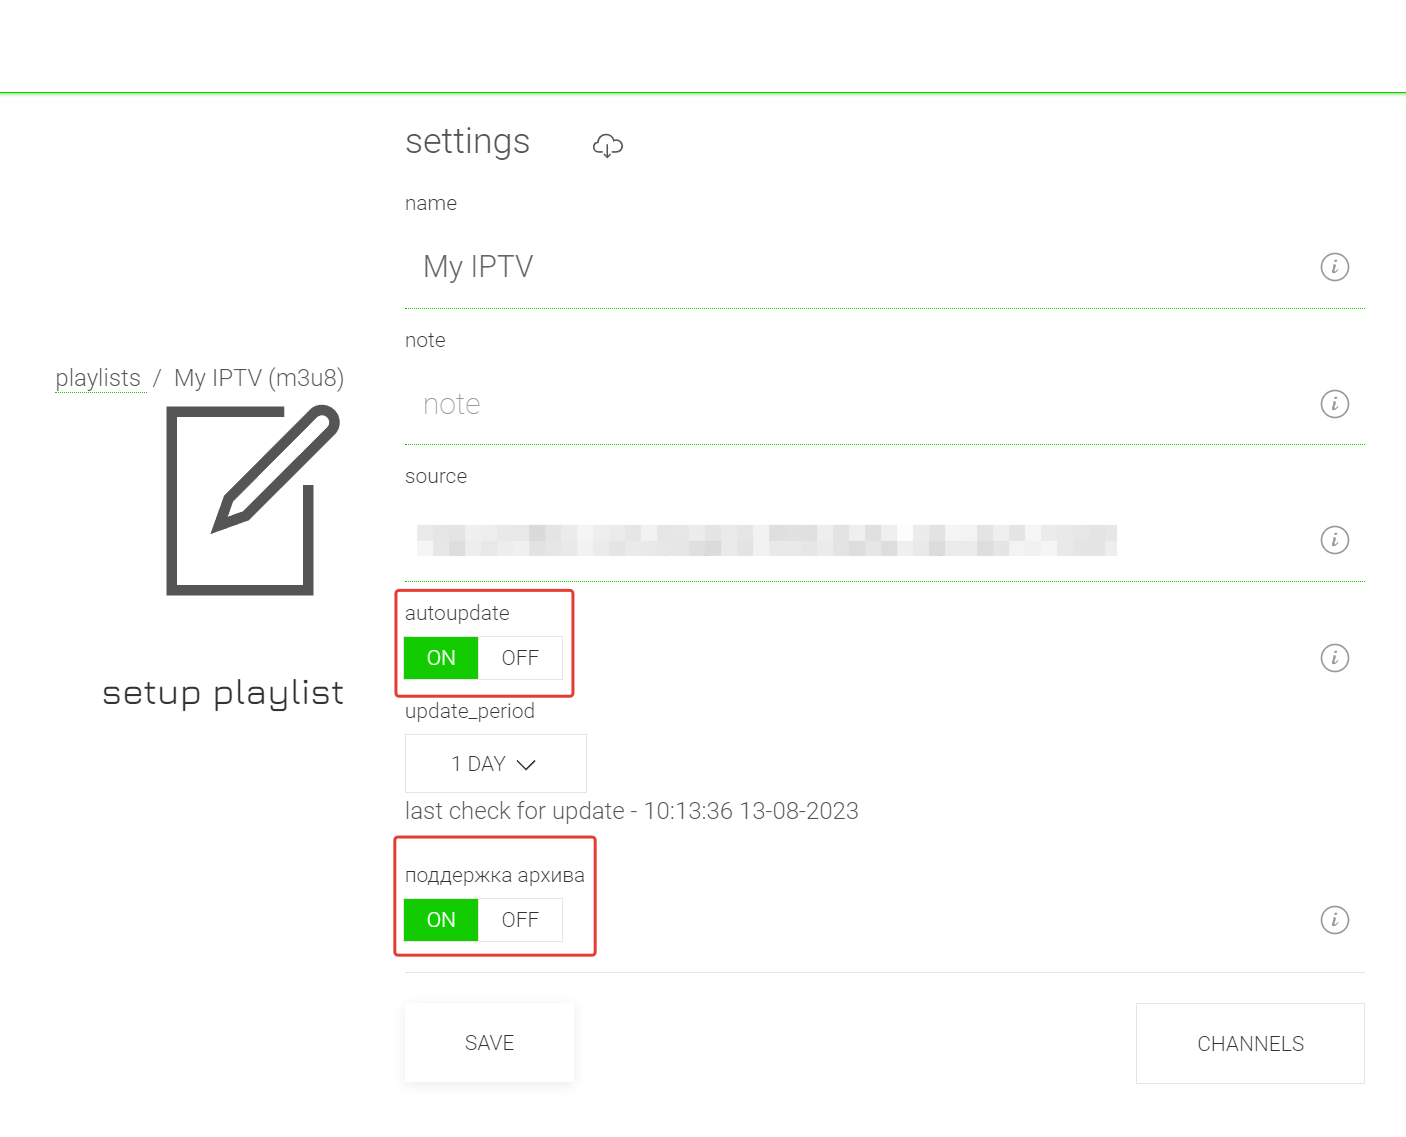
If you have provided a link to a playlist with archive support, don't forget to enable the corresponding option in the playlist settings. Also, choose the devices you want to allow access to this playlist. In this case, it should be your TV named "Living room TV”
Pay attention to the following: if you write in an auto-updated link for the playlist, then after adding the channels, they appear at the top of the list, meaning that normal sorting is lost. You also need to turn on auto-updating in the settings of the playlist - TURN ON - 1 DAY.
If the playlist is added through a file, the channel order will always remain the same. However, we will track channel changes ourselves and, if necessary, update the playlist to a new one in the Ottplayer account.
After creating the playlist in the Ottplayer account and granting access to your TV, go back to the app settings on your TV.
Launch the Ottplayer application on your TV. If you've done everything correctly, you should see the name of your playlist - "My IPTV" - next to the "Favorites" section at the bottom. Access the playlist and you will see a list of all categories and channels.

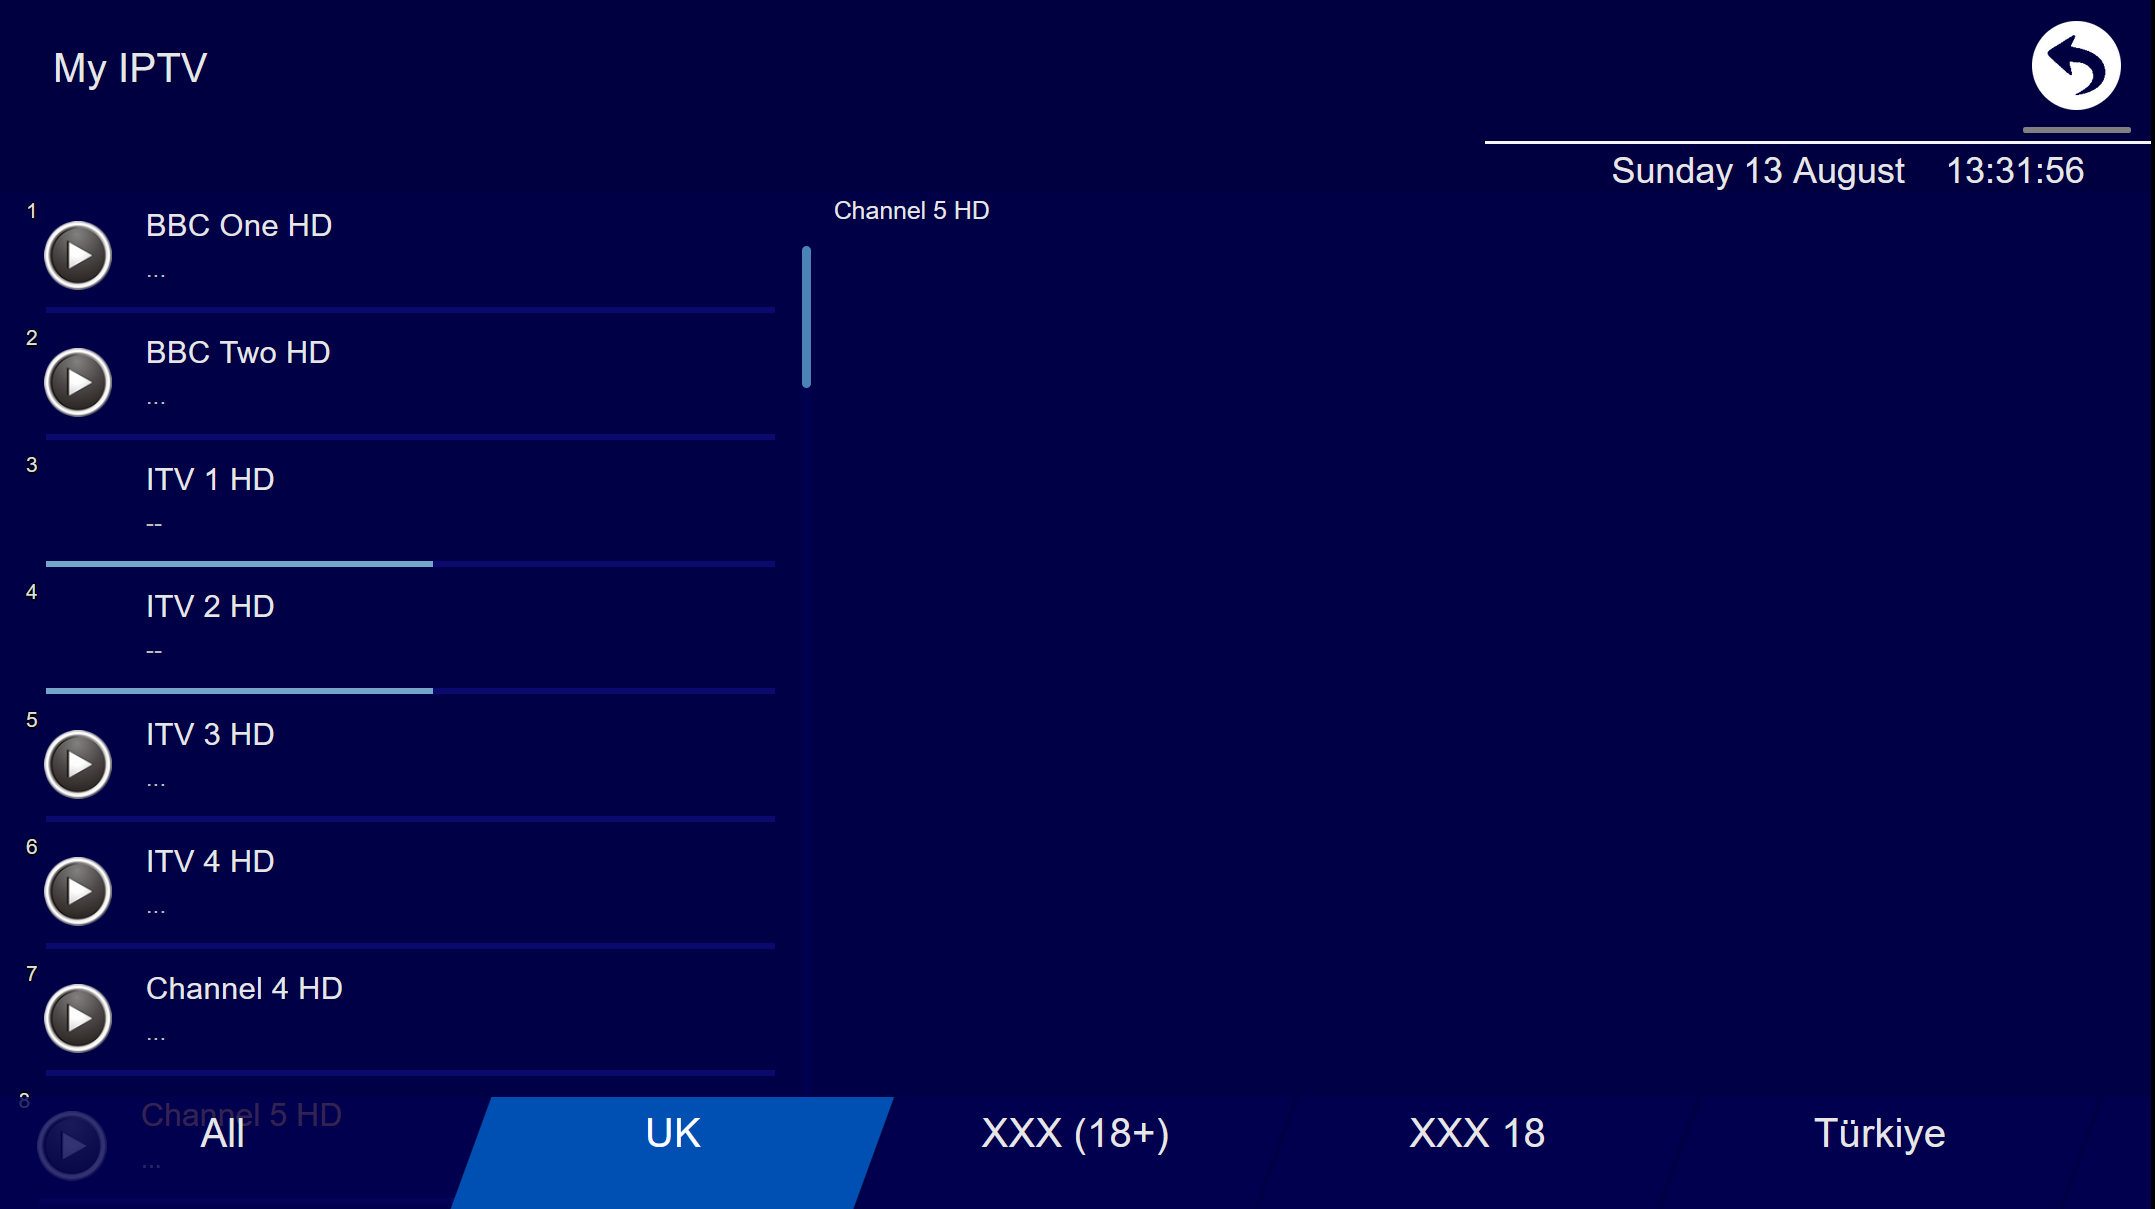
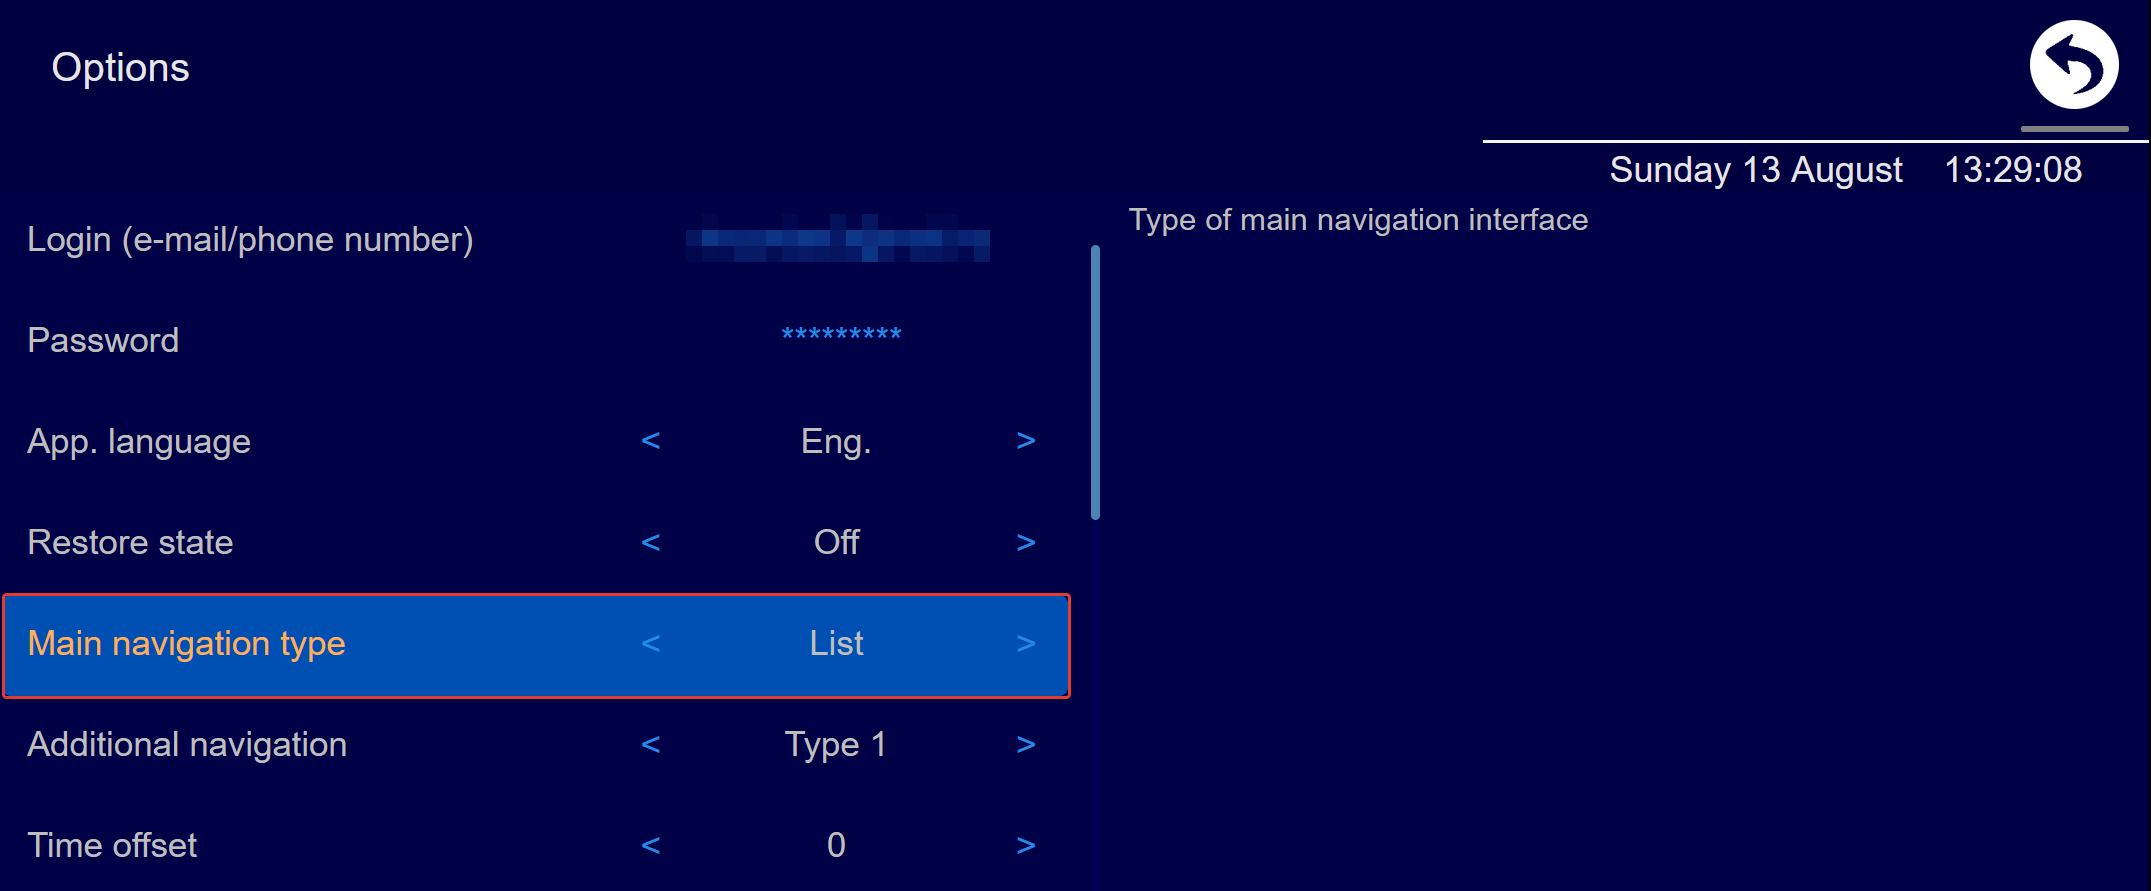
By default, the navigation type is set to "Tile". However, if you don't like this option, you can choose your preferred style. For instance, if you select the "List" navigation type in the application settings, the appearance of the channel and category list will change and look like this:
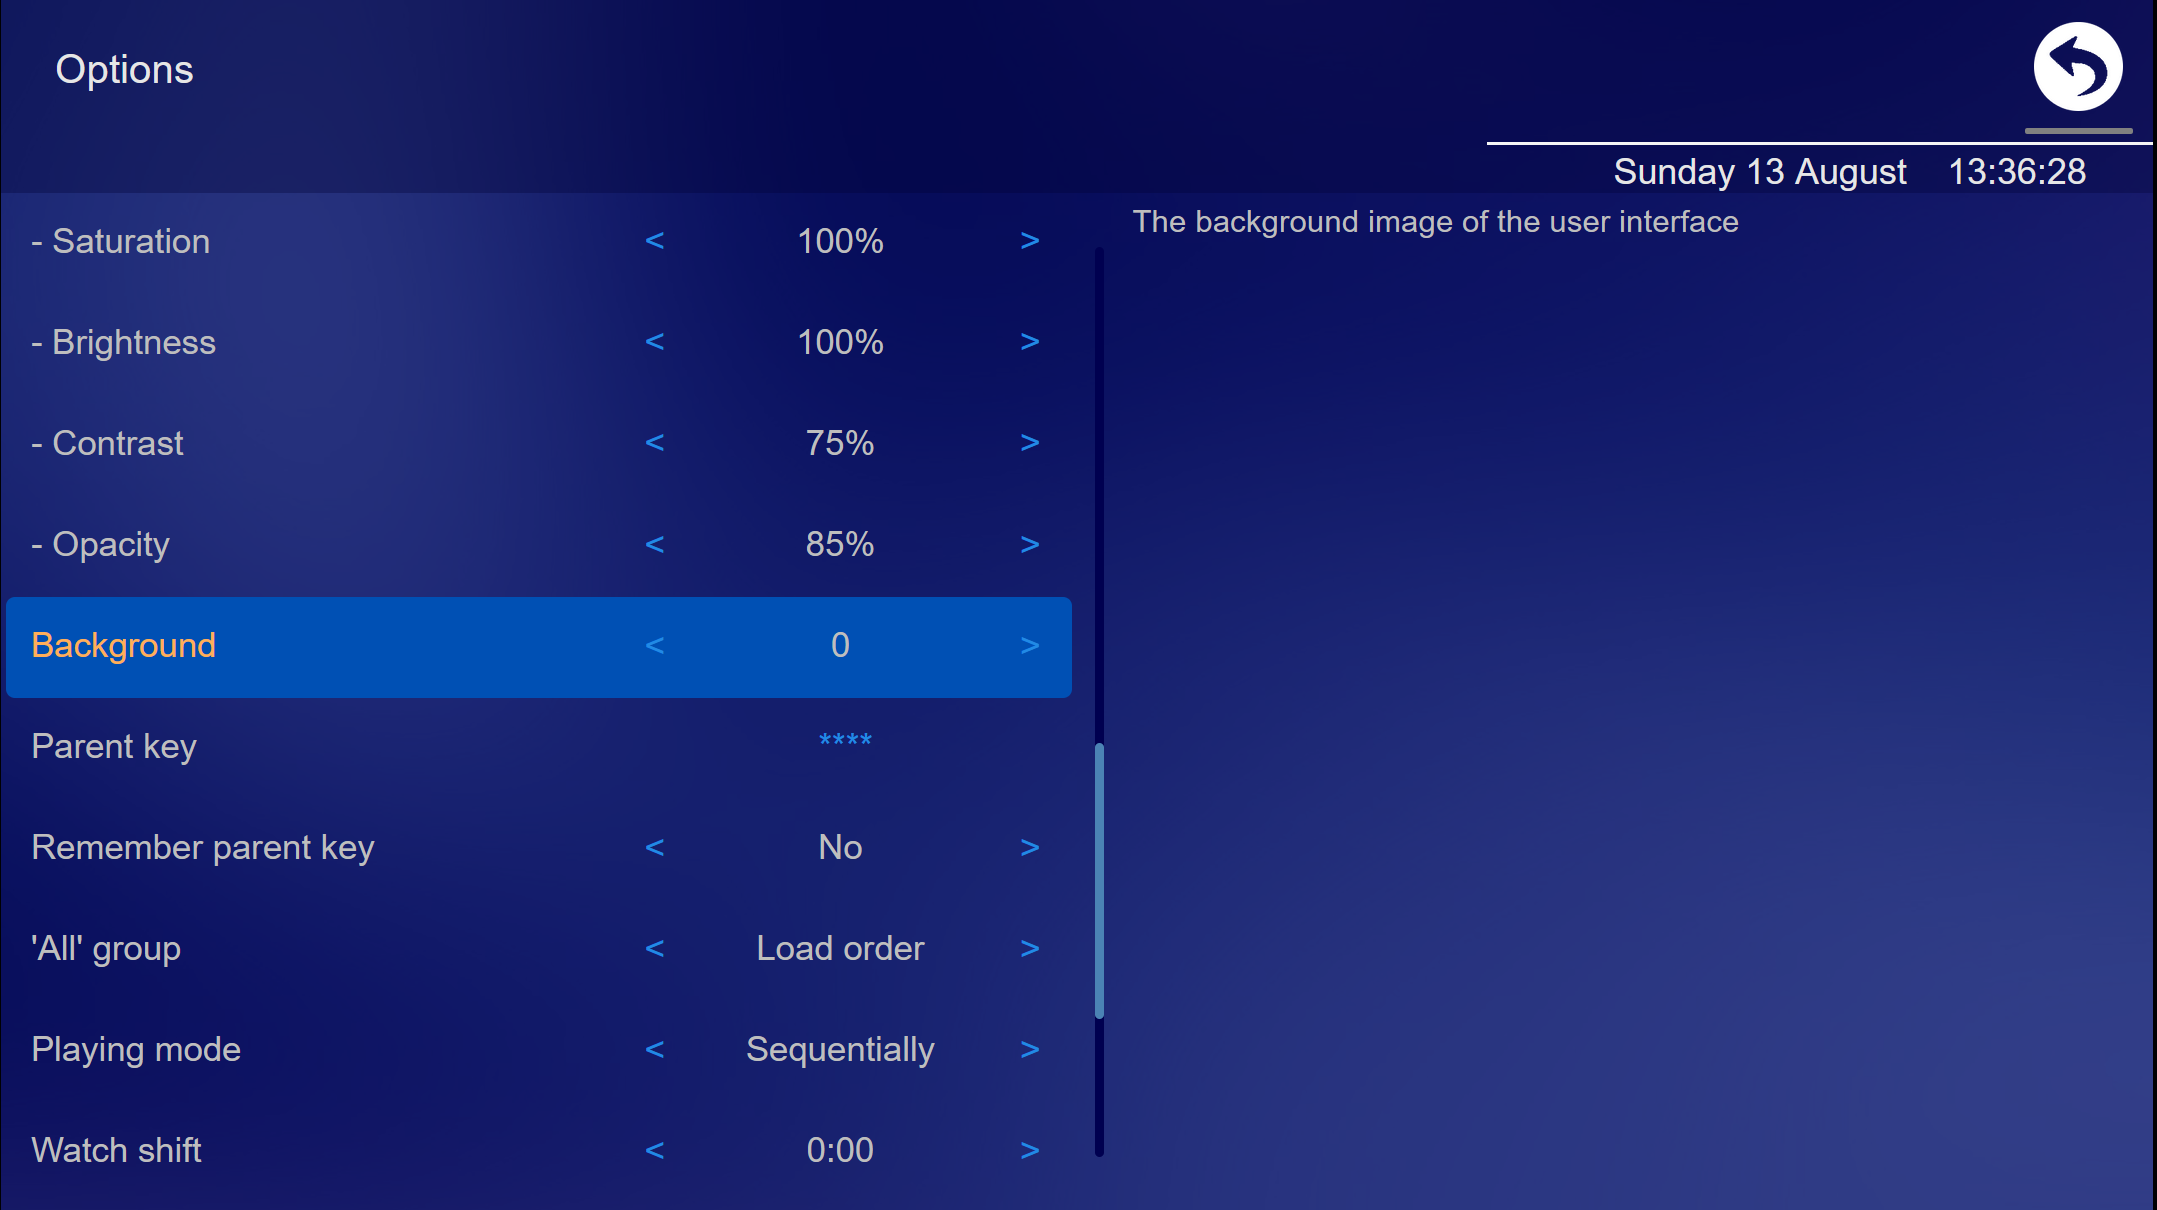
Also, if you do not like the blue theme, you can select any other theme, such as gray and background picture, as an example. - 0
With an account from the ottplayer.tv website you can customize the playlist: sort the channels, and add the missing icons, if some HD channels will be missing the icons and EPG, you will have the ability to apply ones from their analogs from the SD version.